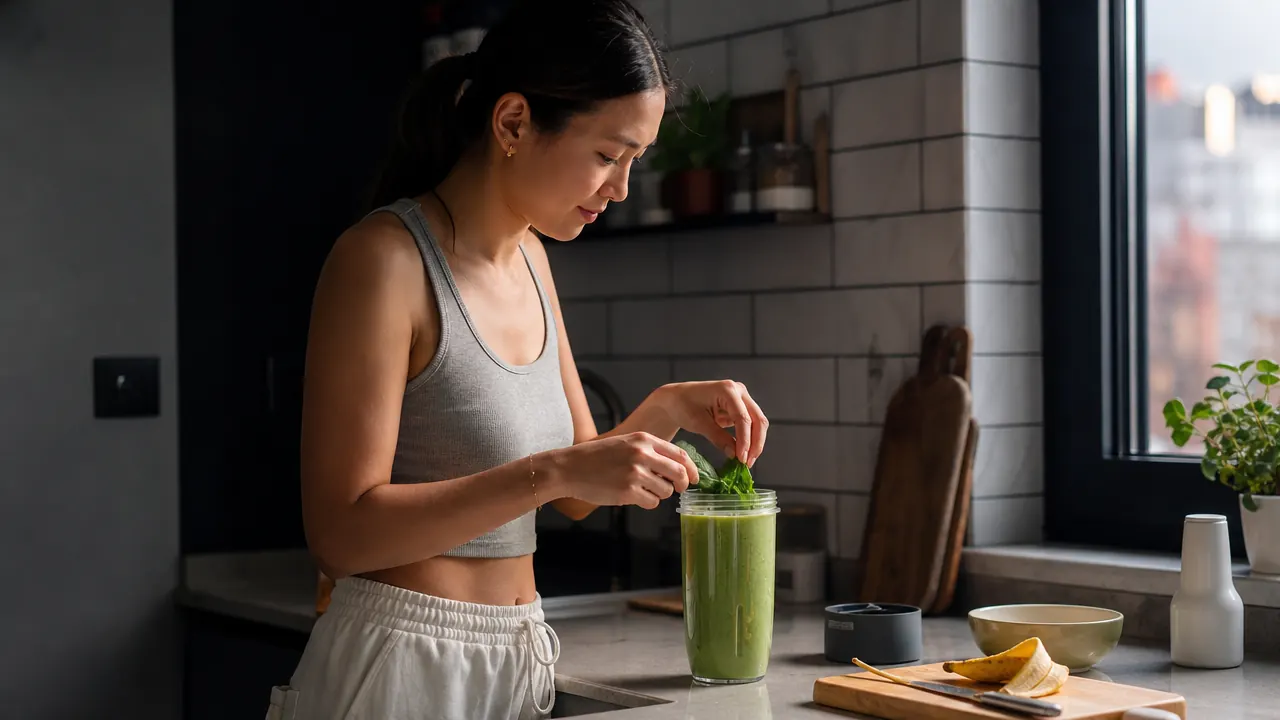
Here is the real problem with making smoothies in a small kitchen: it is not the blender, it is everything around the blender. Nowhere to stage the ingredients. No room to leave the machine out on the counter. A sink so small you can barely rinse a cup without splashing the wall. And if you share the kitchen with a roommate, you also have a 7 a.m. noise constraint. I know this kitchen. I cooked in it for two years in a one-bedroom in Seattle, and I figure out a system that worked. This guide is that system, built around a compact 600-watt personal blender, specifically the NutriBullet NBR-1201, which fits in the 6.5-inch gap between my toaster and the cabinet wall with an inch to spare.
You do not need a wide-open counter or a Vitamix. You need a logical order of operations and a few small habits that keep the machine from becoming clutter. Let me walk you through it, step by step.
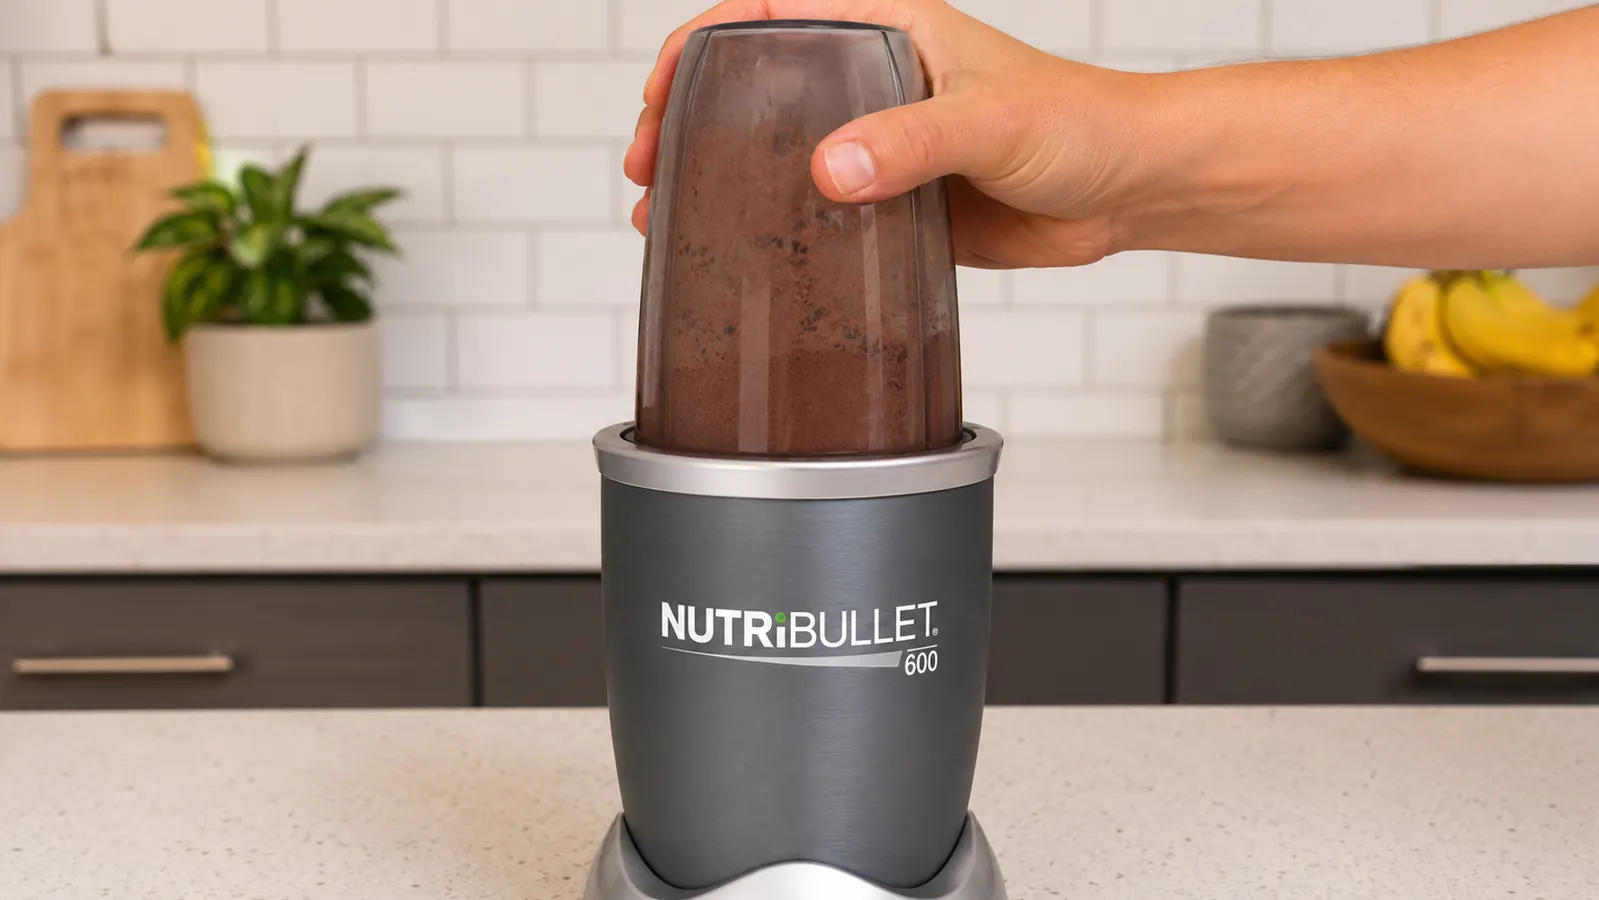
Running smoothies in a tiny kitchen starts with the right blender footprint.
The NutriBullet 600 is 6.5 inches wide and 13 inches tall. It stores upright in a cabinet, leaves a 24-oz cup that doubles as your travel mug, and cleans in under 90 seconds. Check current pricing before you set up your system around a different machine.
Amazon Check Today's Price on Amazon →Step 1: Measure Your Actual Available Space Before You Set Anything Up
Before you commit to any counter spot, pull out a tape measure. The NutriBullet 600 base is 6.5 inches wide by 6.5 inches deep and stands about 13 inches tall with the cup attached. If your lowest cabinet clearance is 14 inches or more, the machine fits underneath and you can leave it assembled. If your clearance is under 13 inches, you store it disassembled: base on the counter or in a cabinet, cup in a drawer or on the shelf where your mugs live.
Write the number down. Seriously. I spent a week frustrating myself by assembling and disassembling the blender every morning because I had not measured and kept assuming it would fit. The clearance on my counter was 12.5 inches. The machine is 13 inches tall assembled. Gap closed. Once I stopped trying to leave it assembled and just stored the base flat in the lower cabinet and the cup next to my travel mug, the whole system clicked. Measure first. Then build your workflow around the real number.
Step 2: Set Up a Dedicated Ingredient Station in Your Fridge or Freezer
Counter space is too valuable to stage smoothie ingredients on it. Instead, build your ingredient station inside the fridge. Keep one shelf clear for your blending produce: leafy greens in a zip-lock with a paper towel to absorb moisture, bananas and berries in a small drawer or a single container, a jar of nut butter, a carton of oat milk or whatever liquid you use. Everything for the morning blend is in one zone. You open the fridge, grab the zone, add everything to the cup, and close the fridge. Thirty seconds of stage time.
For protein shakes, keep a shaker cup next to the blender cup and a small airtight container of protein powder on the counter or in the cabinet directly above your blender spot. If you are making more than one shake a week, pre-measure servings into small zip-lock bags on Sunday so you are not scooping at 6 a.m. in a half-lit kitchen. Small batch prep like this is how small-kitchen cooking works: the fridge and cabinet absorb the staging so the counter stays clear.
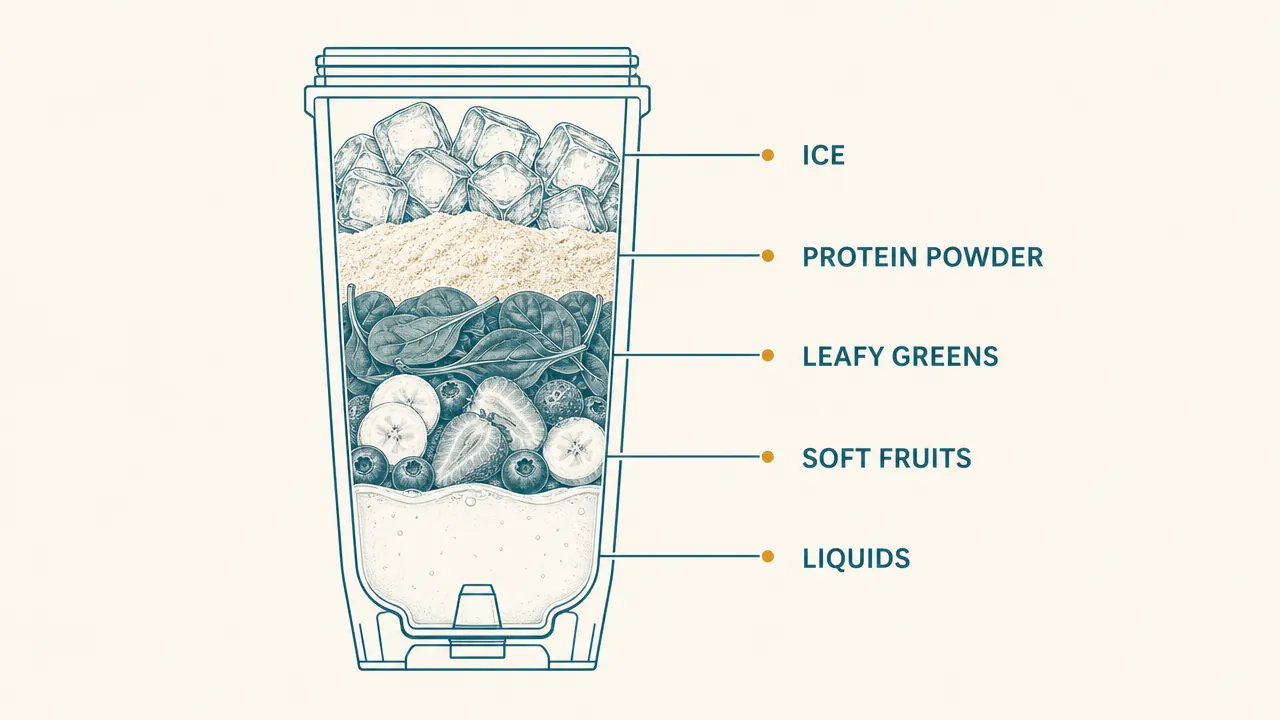
Step 3: Use the Right Layering Order to Prevent Blade Cavitation
A 600-watt motor is not going to brute-force its way through a cup packed with ice and frozen fruit sitting right on the blade. The layering order matters. Always go: liquid first, then soft items like banana or yogurt, then leafy greens, then protein powder or seeds, then ice or frozen fruit on top. When you flip the cup and lock it onto the base, the liquid falls toward the blade first, creates a vortex, and pulls the denser ingredients down into it. The machine runs smoother, you get fewer blade-cavitation stops, and you extend the life of the motor.
One practical note for the NutriBullet 600 specifically: do not exceed the MAX line, which is about two-thirds of the cup capacity. Overfilling is the single most common cause of lid leaks. The 24-oz cup is your default for single-serve. The 18-oz cup that comes in the 12-piece set is better for protein shakes where you want a smaller, denser blend. Match cup size to intended use and you will never have a leak.
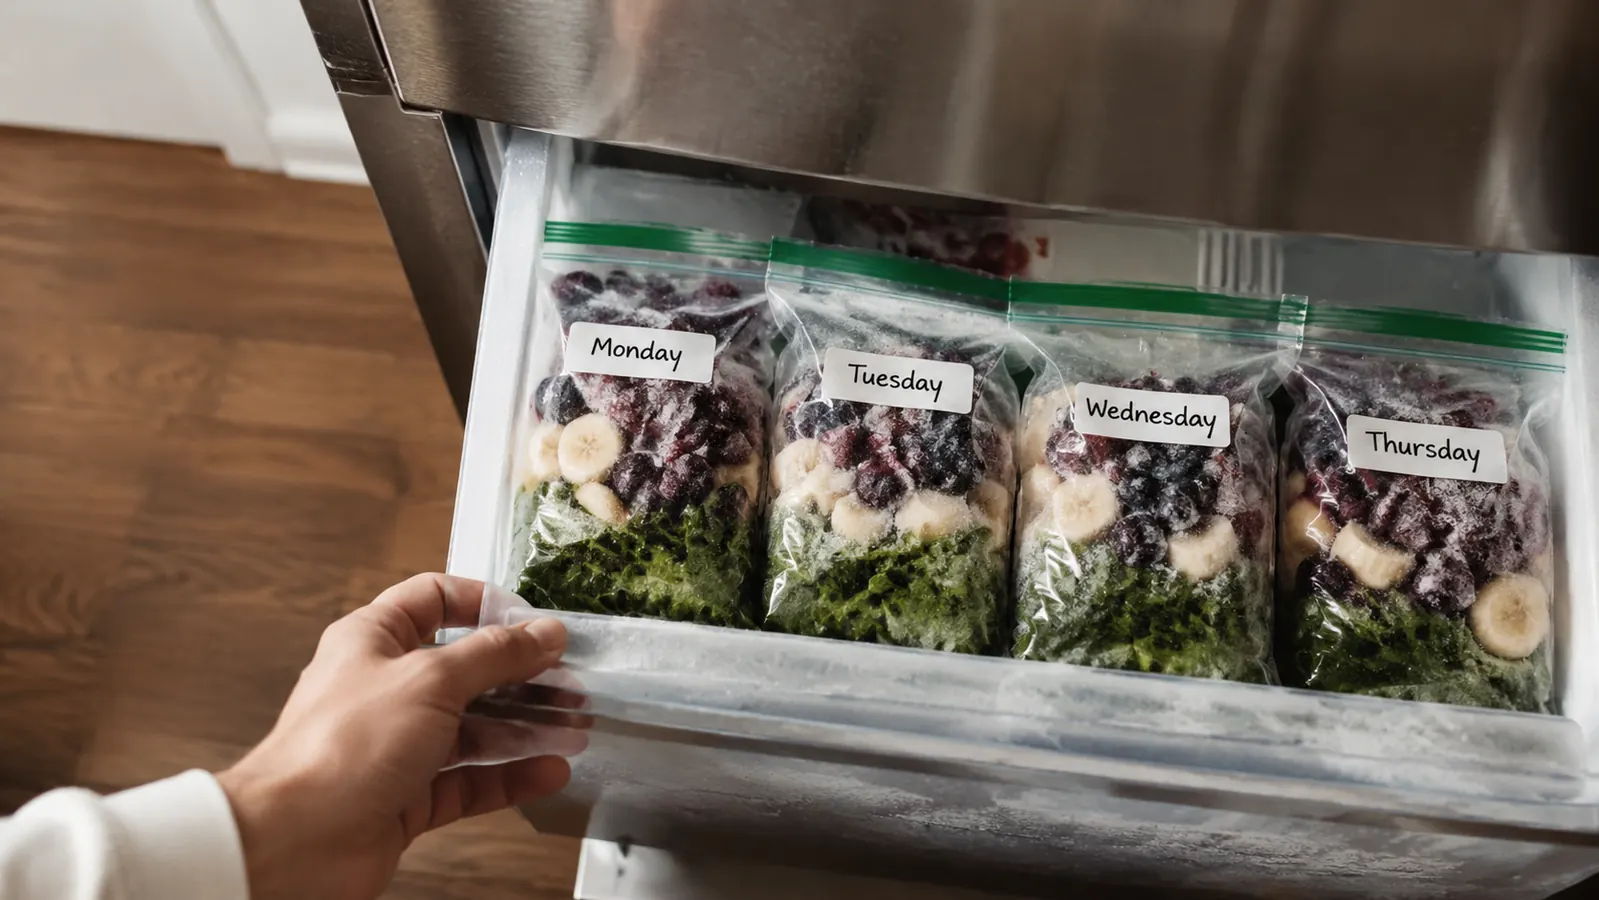
Step 4: Batch Your Smoothie Packs on Sunday to Save Time Every Morning
The single fastest upgrade you can make to a small-kitchen blending routine is Sunday smoothie-pack prep. Take five zip-lock bags. Into each one, add one serving of whatever mix you want for the week: two handfuls of spinach, half a banana broken in pieces, a quarter cup of frozen berries, maybe a tablespoon of flaxseed. Seal the bags and freeze them flat in a single layer. Monday through Friday, you pull one bag from the freezer, dump it directly into the blender cup, add 8 to 10 ounces of liquid, lock it onto the base, blend for 45 seconds, and go.
This system eliminates all morning decision-making and all morning produce staging. You are not opening three containers and measuring things. You are opening one bag and a carton. The prep time on Sunday is about 12 minutes for a full week of packs. That math works in any kitchen, but it especially works in a small kitchen where you have zero room to run a morning mise en place.
Measure your cabinet clearance before you build any routine around a machine. That single number determines whether your blender lives on the counter or in the cabinet, and that determines how long your morning routine actually takes.
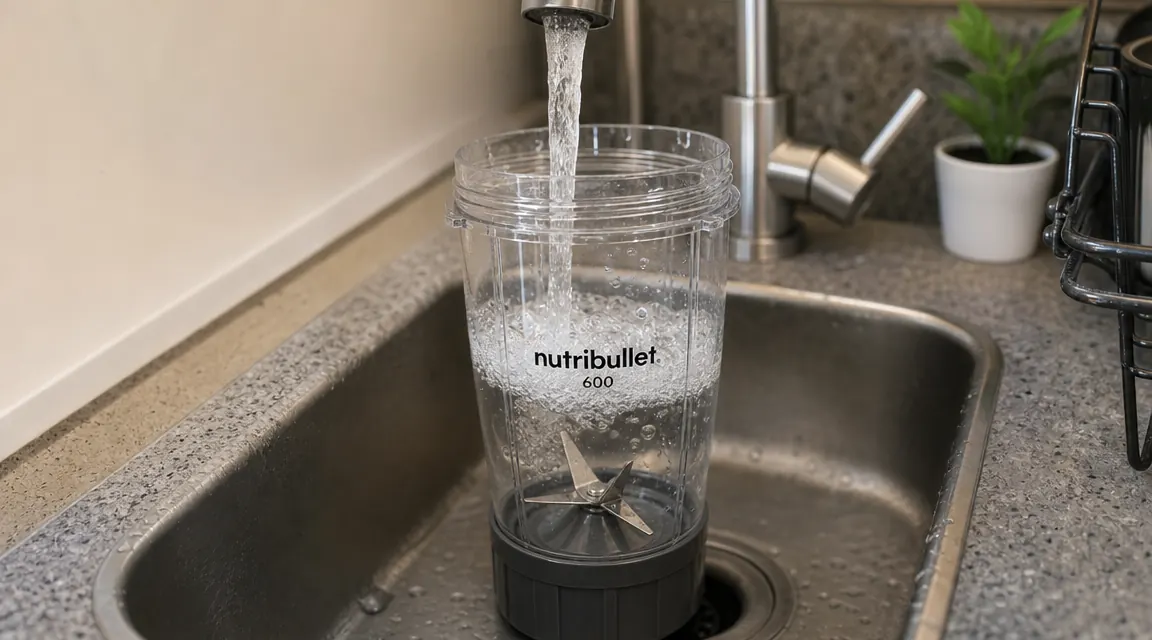
Step 5: Master the 90-Second Cleanup That Keeps Your Sink Clear
The NutriBullet 600 blade assembly does not go in the dishwasher. The cups can go in the top rack, but in most small apartments you are hand-washing anyway. Here is the cleanup method that takes under 90 seconds and does not require a full sink wash every time: immediately after you pour your smoothie, add a half cup of warm water and a drop of dish soap to the cup, lock it back on the base, and run it for 10 seconds. Then rinse under the faucet and invert it on a dish towel or a small drying rack. That is the entire process on a weekday morning.
For a deeper weekly clean, unscrew the blade assembly from the cup, soak the blade ring in warm soapy water for 5 minutes, and use a small bottle brush to scrub the blade fins. Dry it upside down. Protein residue builds up around the blade fins faster than fruit residue, so if you are making daily protein shakes, do the deeper clean twice a week. The motor base just gets a damp-cloth wipe, never submerged.
Beyond Smoothies: Four More Things a Personal Blender Handles in a Small Kitchen
Once your smoothie system is running cleanly, it is worth knowing that the same machine handles a few other tasks that would otherwise require a second appliance you do not have room for.
Salad dressings and vinaigrettes blend in about 20 seconds. Add your oil, vinegar, mustard, garlic, and salt to the short cup, pulse three times, done. No whisk, no extra bowl. Hummus works if you use canned chickpeas, a splash of the aquafaba liquid, tahini, lemon, and garlic. It will not be as silky as a full food processor but it is entirely passable for a weeknight dip. Nut butter is possible in the short cup with dry-roasted peanuts, about 2 minutes of blending with scrapes in between. And salsa is a 10-second pulse job: canned tomatoes, onion, jalapeño, cilantro, lime, salt. Each of these tasks takes 90 seconds of active time and the same 90-second cleanup afterward.
The reason this matters in a small kitchen is tool consolidation. Every appliance you own needs to earn its footprint. A personal blender that only makes one thing is harder to justify than one that replaces a whisk, a mortar and pestle, and half a food processor's workload. Think of it as a multi-tool with a very small footprint, not just a smoothie machine.
What Else Helps
A small drying rack, not a full-size one, keeps the cup off the counter after the rinse. A pull-out cabinet shelf, the kind that mounts in a lower cabinet, is where the NutriBullet base lives in my current setup. Total cost was $18. I can slide it out, grab the base, lock on the cup, and have it on the counter in 10 seconds. Storage that makes the machine easy to access is storage that keeps you using it, and a blender you use every day earns its footprint. One you dread reassembling slowly becomes clutter.
If you want a longer look at how the NutriBullet 600 holds up over time, including motor durability after a year of daily use, the cup seal situation, and the one thing that eventually wore out, read the long-term review at the link below. And if you are weighing the NutriBullet against other options before you buy, the honest breakdown covers who should skip this machine entirely.
Before you build a system around this blender, check whether the footprint actually fits your counter.
The NutriBullet 600 is 6.5 inches wide with a 24-oz cup included in the 12-piece set. It is the most compact personal blender that runs a real 600-watt motor. Verify today's price on Amazon and check whether the 12-piece bundle is still the best value versus buying the base alone.
Amazon Check Today's Price on Amazon →